Installation Tips Specific to C-Mount Cameras
Table Of Contents
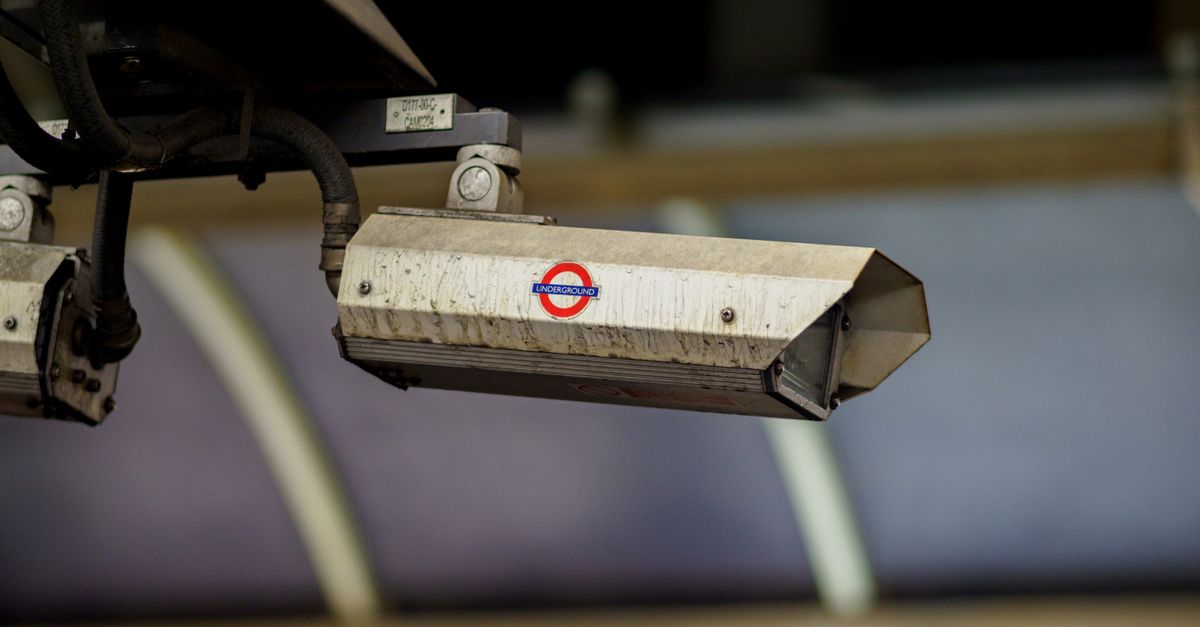
Aligning and Focusing Your C-Mount Camera
Proper alignment and focus are crucial to achieving optimal performance from a C-mount camera. Start by ensuring that the camera is securely mounted on a stable surface or bracket. Adjust the camera’s position so that it captures the desired field of view. Take care to examine the angle of the lens carefully; minor adjustments can significantly enhance the clarity of the footage. Use a level tool to verify that the camera is aligned horizontally, preventing any skewed images.
Once the camera is aligned, focus adjustments can begin. Many C-mount lenses come with a manual focus ring, which allows for precise tuning. Examine the image through the viewfinder or connected monitor as you gradually adjust the focus. Take the time to zoom in and out while adjusting to find the sweet spot where the image is at its sharpest. This process might require a few iterations, so patience will yield the best results in image quality.
Techniques to Achieve the Perfect Focus
Achieving sharp focus with a C-mount camera requires a blend of precision and technique. Begin by loosening the locking ring on the lens, allowing you to adjust the focus smoothly. Always start by zooming in on your subject. This initial step helps identify the clearest point before you consolidate the focus. Once centred, gently rotate the focus ring, ensuring the desired area remains sharp.
After establishing focus, secure the lens by tightening the locking ring. It’s essential to verify the focus after securing the lens, as shifting may occur during the tightening process. Use a test shot to ensure clarity across different distances. Keep in mind that lighting conditions can alter the perceived focus, so adjust accordingly based on environmental factors.
Integrating C-Mount Cameras with Security Systems
Integrating C-mount cameras into existing security systems is a straightforward process that can enhance surveillance capabilities significantly. Compatibility is crucial when selecting a camera. Ensure that the camera supports the same technology as the other devices in the system. Many C-mount cameras offer various output formats, so it is essential to verify that they can communicate effectively with your video recorders or network video recorders (NVRs).
Connecting C-mount cameras involves several simple steps to ensure optimal performance. Begin by accurately positioning the camera for desired coverage areas. Next, run compatible cables from the camera to the central recording unit. Consider using power over Ethernet (PoE) solutions to reduce clutter and simplify installations. After establishing connections, use the software provided with your security system to register the new device and configure settings for optimal video quality and motion detection sensitivities.
Steps to Connect with Other Devices
C-mount cameras can be integrated into various security systems, enhancing overall monitoring capabilities. Start by identifying the compatible devices you wish to connect. This includes DVRs, NVRs, or remote viewing applications. Ensure that all components support the same video format and resolution to prevent compatibility issues. Use appropriate cables, such as coaxial or Ethernet, based on your specific setup and devices involved.
After identifying the necessary equipment, follow the manufacturer's instructions for each device. Connect the camera to the security system or network while ensuring power sources are reliable. Configure the settings on the security system interface to recognise the new camera. Verify that video feeds are correctly displayed, making adjustments to camera angles as needed for optimal coverage. Regularly check connections and settings to maintain performance and reliability.
Troubleshooting Common Installation Issues
When setting up your C-mount camera, it’s not unusual to encounter various installation challenges. One common issue involves improper alignment, which can lead to distorted images or blind spots. To resolve this, ensure the camera is mounted securely and use a level to check its angle. Adjusting the position incrementally can help you find the optimal placement for clear and accurate monitoring.
Another frequent problem may arise from connectivity issues with your recording or viewing devices. If you experience video feed interruptions, examine the cables for any signs of damage or poor connections. Check that all connections are firmly in place and consider testing the setup with alternative cables to rule out faulty components. Maintaining a tidy cable management system can also prevent unexpected disconnections and signal loss during operation.
Tips for Addressing Installation Challenges
Addressing installation challenges requires a systematic approach. Start by checking the specifications of your C-Mount camera to ensure compatibility with existing equipment. Confirm that your power supply meets the required voltage and that all cables are in good condition. If encountering issues with connectivity, consider inspecting the connectors for wear or damage. Inadequate mounting can lead to misalignment, so double-check that the camera is securely fixed to the surface.
Lighting conditions can also affect the camera's performance during installation. If possible, test the camera during different times of the day to identify any potential issues related to glare or shadow. Adjusting the field of view can help mitigate these effects. Lastly, documenting the installation process can provide valuable insights for future troubleshooting. Take notes on the configuration, any adjustments made, and observed issues to enhance the success of subsequent setups.
FAQS
What is a C-mount camera?
A C-mount camera is a type of camera that has a specific thread size, allowing the attachment of various lenses, making it ideal for versatile applications in surveillance and industrial use.
How do I align my C-mount camera for optimal viewing?
To align your C-mount camera, position it at the desired angle and height, then use the camera's built-in features or software to adjust the view until the desired area is covered.
What are some common techniques for achieving perfect focus on a C-mount camera?
Techniques include adjusting the lens focus ring while observing the image on a monitor and using focus indicators if available, ensuring that the subject is sharp and clear.
How can I integrate my C-mount camera with an existing security system?
To integrate your C-mount camera, connect it to the system using compatible cables, configure the camera settings, and ensure it is recognised by the system's software.
What should I do if I encounter installation issues with my C-mount camera?
If you face issues, check connections, ensure proper power supply, verify compatibility with devices, and consult the troubleshooting section of the camera's manual for specific solutions.
Related Links
Cost Considerations When Choosing C-Mount CamerasC-Mount Camera Applications in Perth Security Systems
The Role of C-Mount Cameras in High-Detail Surveillance
How to Choose the Right C-Mount Camera for Your Needs
Best Practices for Selecting C-Mount Lenses